Well, I got busy yesterday and removed the rotors, gave everything a good old clean and took some measurements.
John and Peter, you were right about the pins, they are very worn where they have been rubbing against the rotors, and one of the pins is not the same as the rest. The shaft has very very little vertical movement but has 2mm horizontal movement (I am able to pull and push the shaft in and out of the crankcase by 2mm), and I found some oil on the right side, on the shaft and inside the inner rotor. So new oil seal needed there. The bearing seems to be OK?, but if I'm going to open up the crankcase, I might as well replace the bearing and both oils seals just to make sure. I've already been in touch with Richard Tallentire from
http://merrytiller.co.uk, who has been very helpful, and will be getting those parts from him. You're right John, his website is very interesting, and an absolute necessity for maintaining these machines. Much kudos for him!
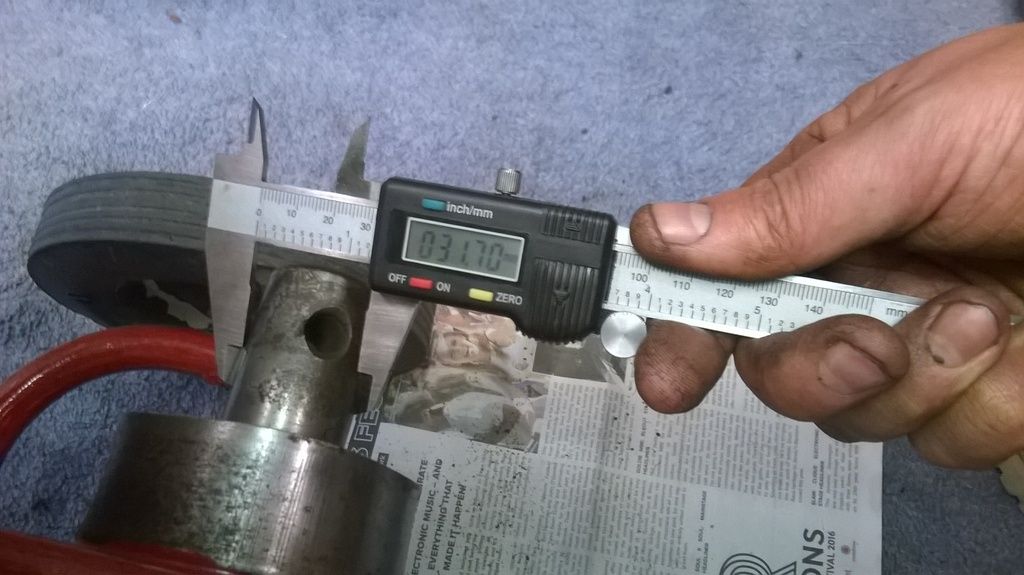
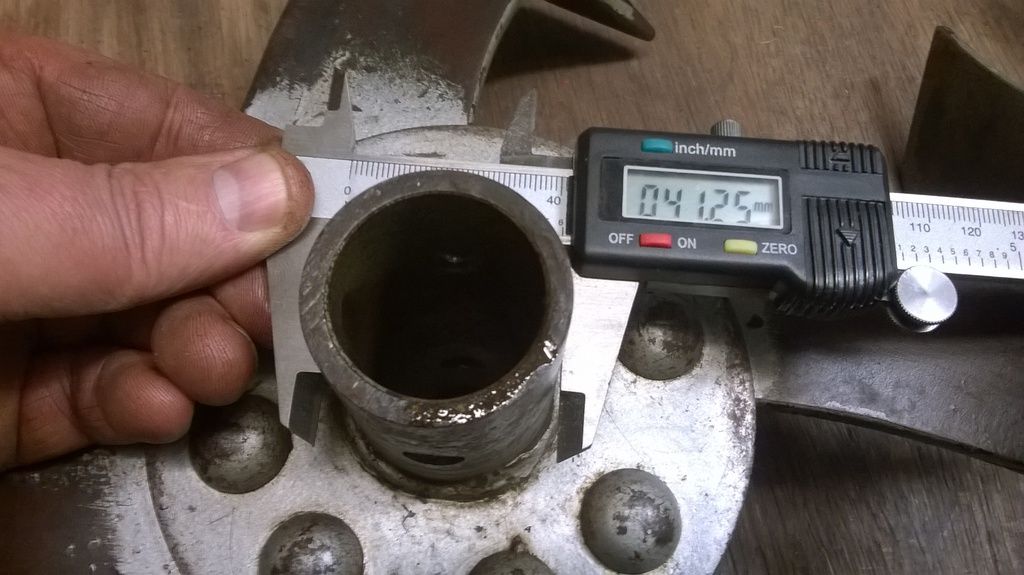
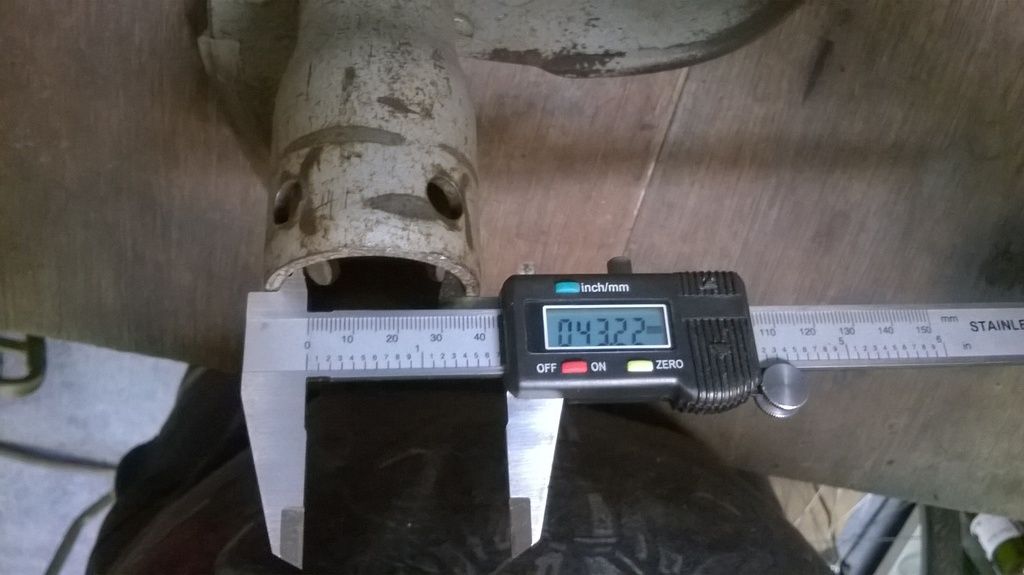
Here's some pics of the rotors, shaft and pins. I'd thought I'd include them, as Peter mentioned that it might be possible that they are incorrect for the machine. I've taken measurements with digital verniers so you can clearly see if they are OK. Everything seems to be OK to me, and it's just a matter of replacing the pins.
Rotor shaft, showing an OD of 31.7mm
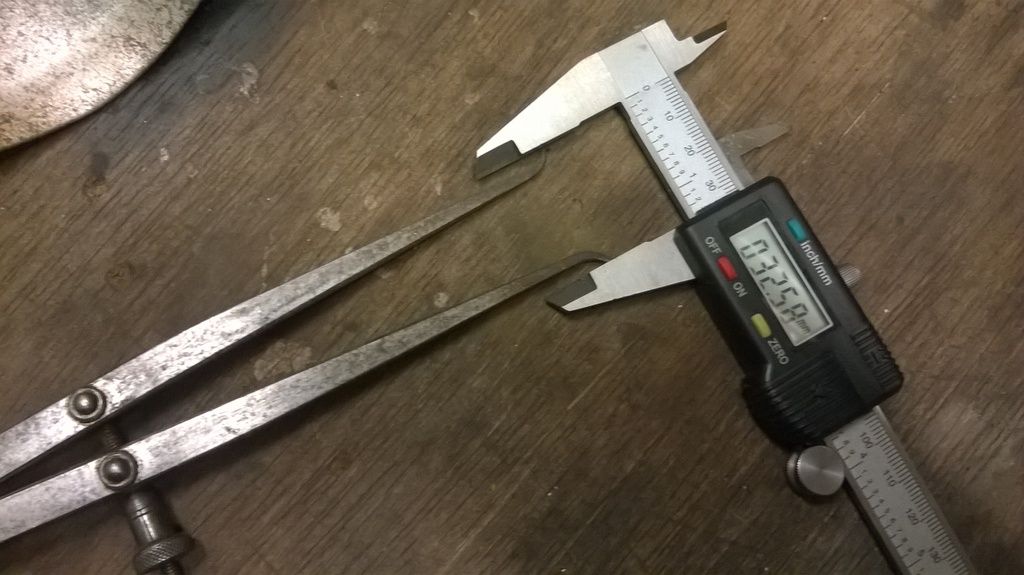
Inner rotor ID: 32.58mm
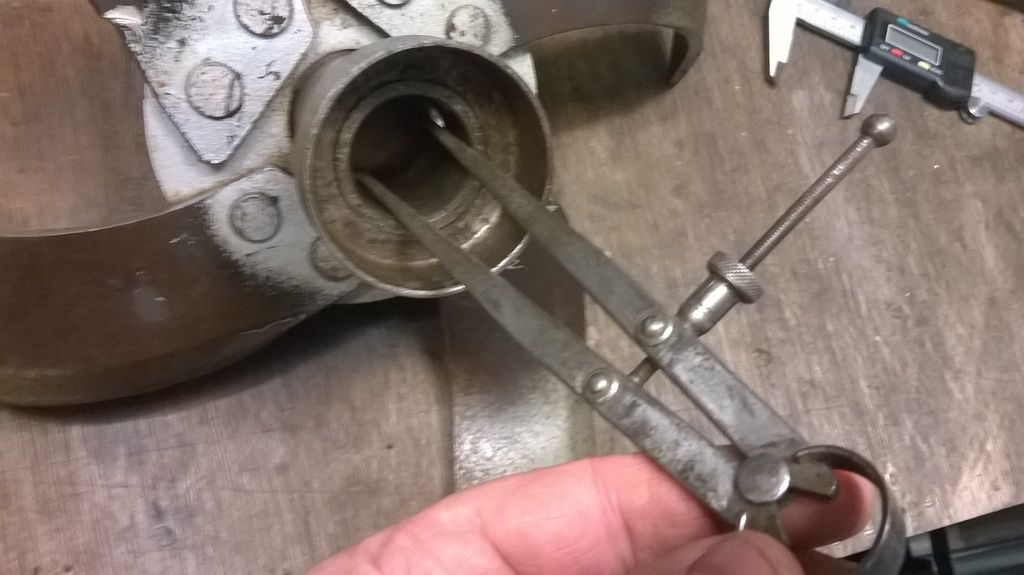
Inner rotor OD: 41.25mm
Outer rotor ID: 43.22mm
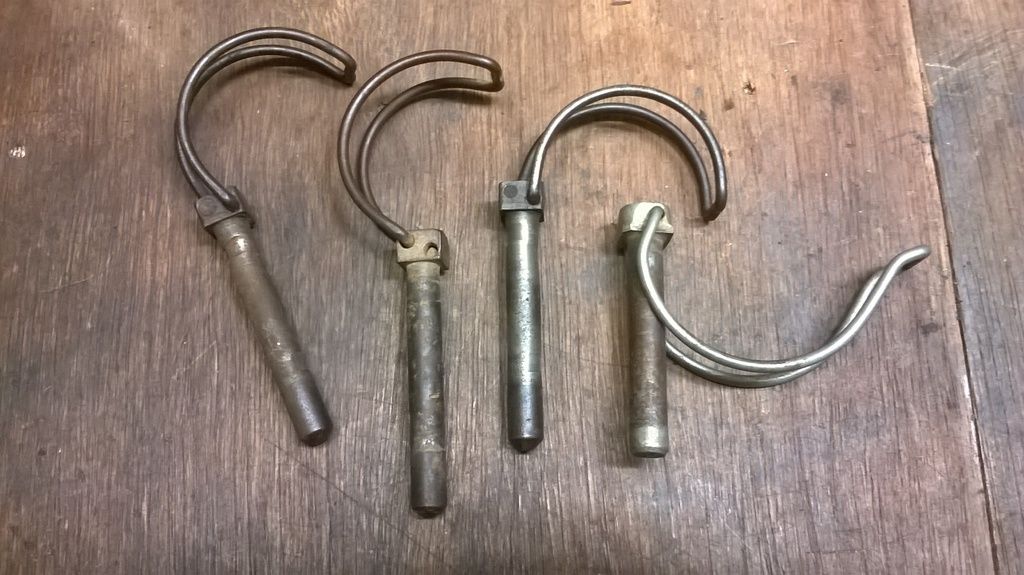
Rotor pins, showing an odd one
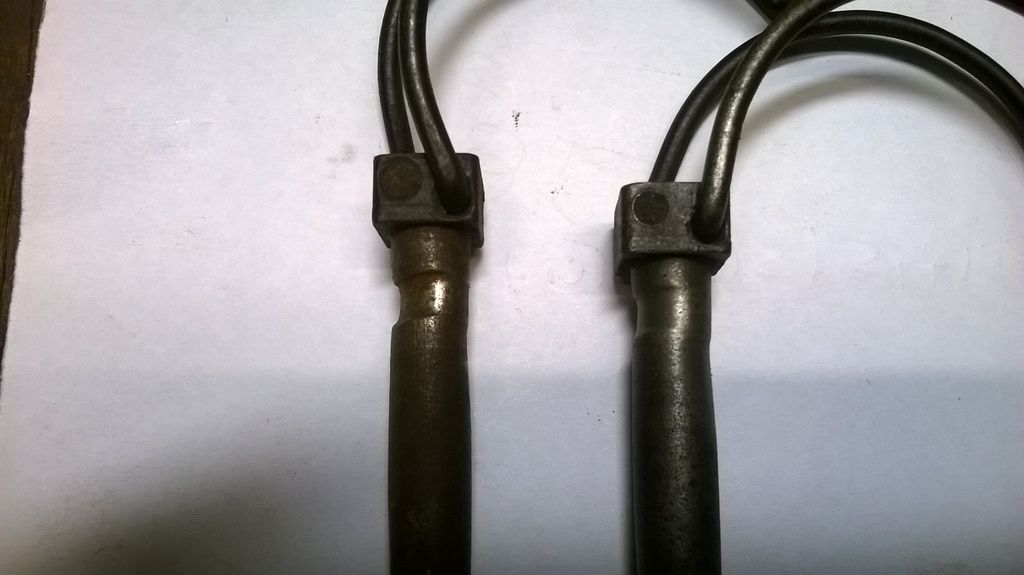
Rotor pins close up, showing wear near the shoulders
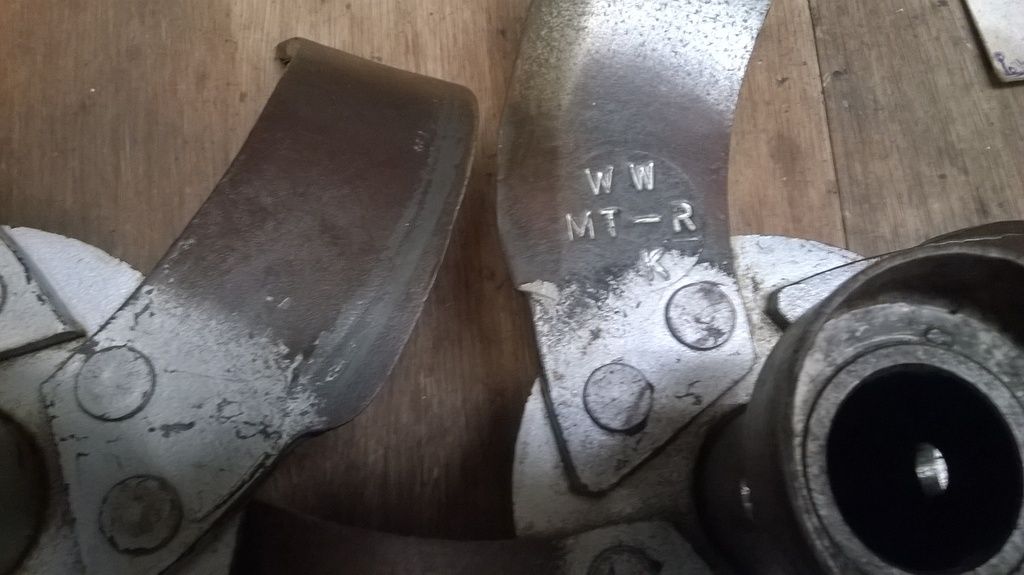
Here's one of the inner rotors showing some letters (WW MT-R K) stamped on the blades:
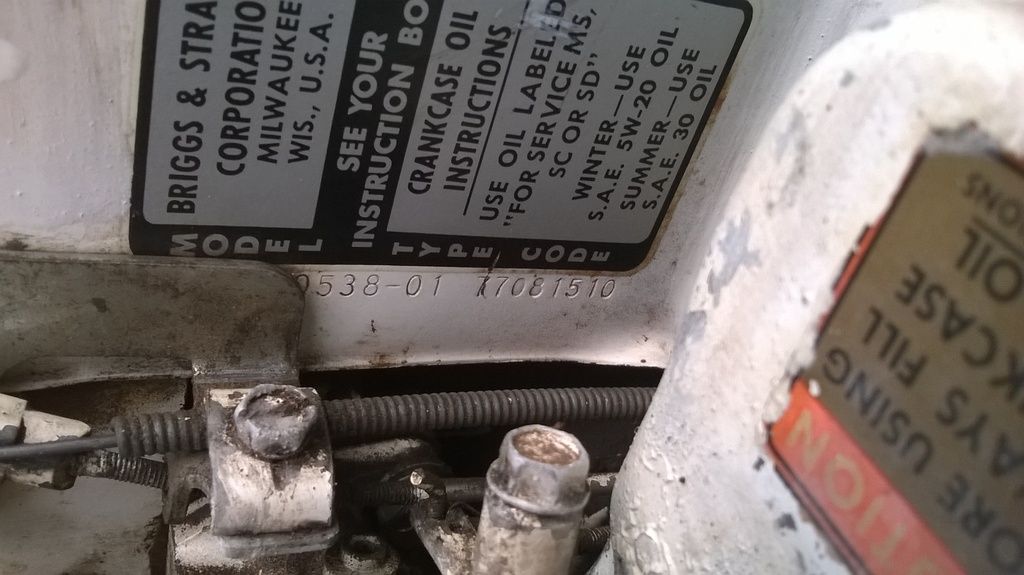
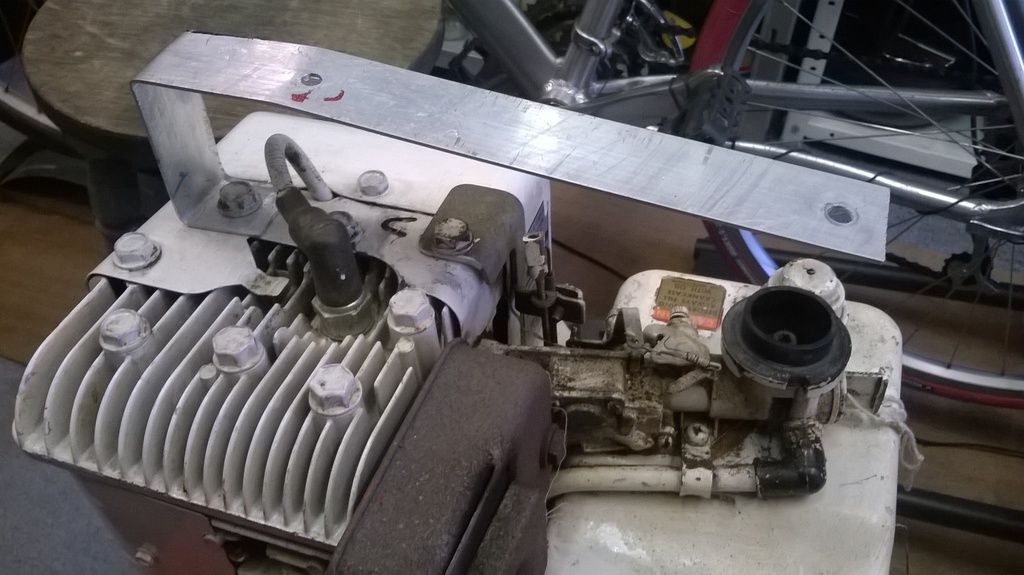
I also removed the engine cowl, which Richard seemed to think is not original for the year and model, and could of been added later. He is right. Removing the cowl revealed a home-made bracket made from a length of aluminium which is attached to the front of the engine by one of the head bolts, and to the rear by a piece of wire through a hole in the fuel tank (see photos below and prepare to grimace!). The air cleaner cover is bolted to the cowl, and this set-up is all that keeps the air filter cartridge in place on top of the carburettor, which means that a tight and proper fitting is not in order and fine dust can pass into the carburettor.
I've had a look at some parts diagrams for this model of engine, and discovered that there should be a stud attached to the centre of the carburettor inlet, to which a base, air filter and cup are clamped down with a wing nut, and then the air filter cover is bolted down on top with a threaded knob. Most of these missing parts are available within the UK on eBay (official part suppliers only stock parts for modern machines), except for the stud and threaded knob which are available from the USA on eBay, but the cost of shipping a simple small part makes them too expensive (approx £19 shipping for each item). Unless I can find these 2 parts without forking out a fortune on postage, I'll fabricate them myself. The threads are 3/16", and I have tap & dies for the job.
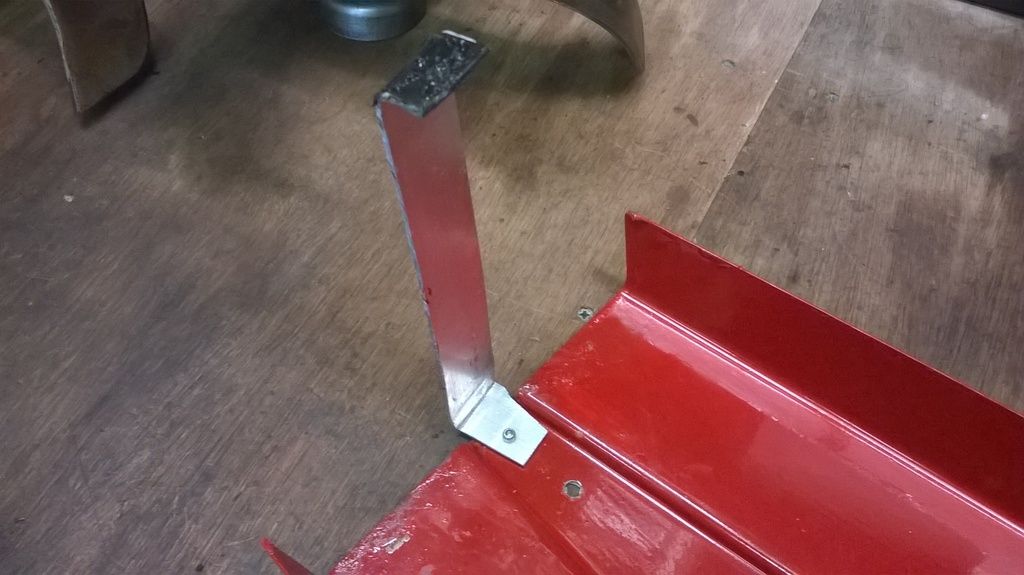
Here's the front bracket
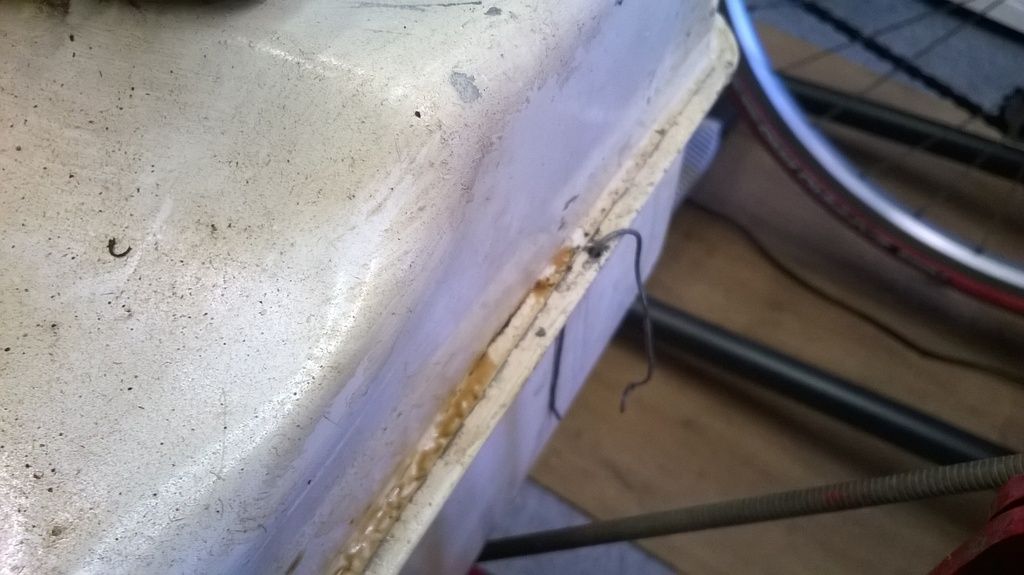
And the rear bracket attached to the cowl by a rivet (shown upside down)
Which was attached by means of a small hole drilled in the joining lip of the fuel tank and a piece of wire
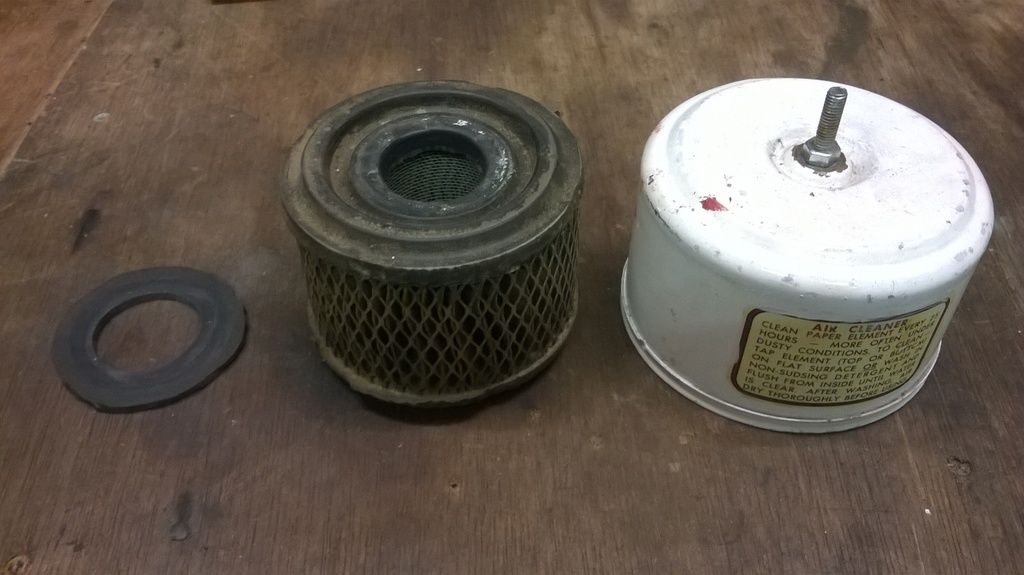
Here's all I have of the air cleaner assembly
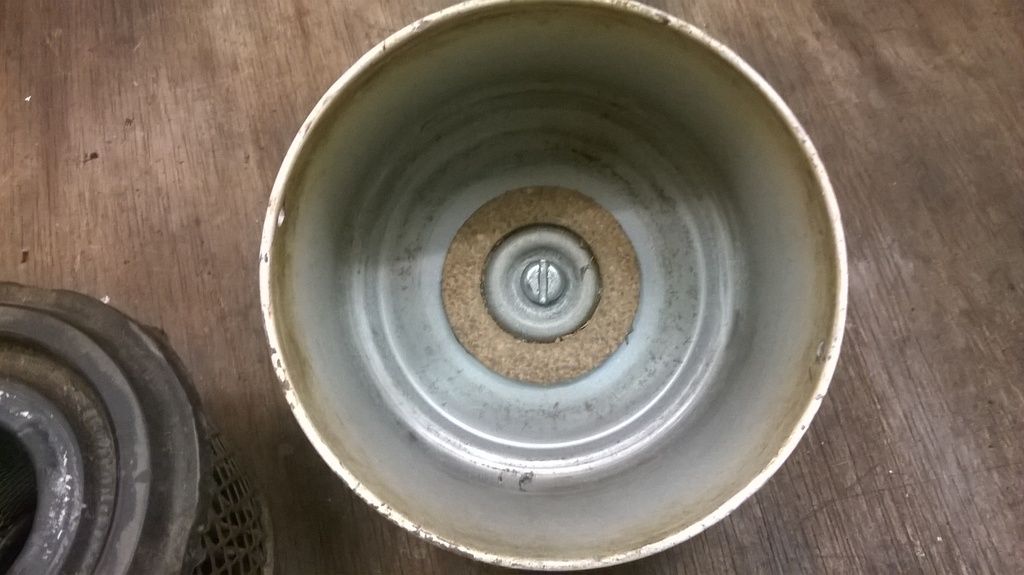
Inside view of the air filter cover
So that just about sums it up for now.
I'm just waiting for Richard to get back to me, and then I'll be ordering parts galore and having fun in my workshop.
Thanks again for all your advice and help, of which I have a feeling there'll be more!
Cheers,
Fred.